How to Make Sure Your Crystals, Paper and Ribbon Stick So Those Suckers Do Not Come Off
 Tuesday, June 5, 2012
 Ribbons come in all different shapes and fabrics and they're tough to adhere to a paper invitation. The best method I've found? If you want to save postage, avoid tying a knot in your ribbon. That way, it will go through the postal machines flat and only cost one Forever stamp. Here's what I do:
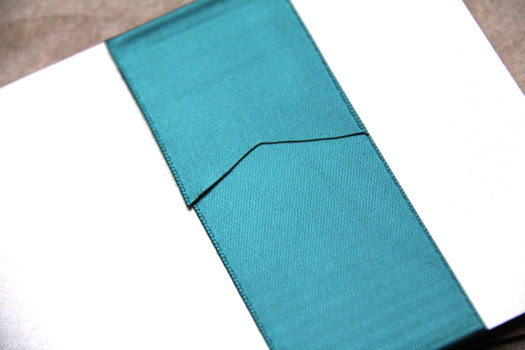
- Trim your ribbon to the length you need to wrap around your entire invitation.
- Cut one end (the end that will be glued to the top) in a "V" shape. That keeps it from fraying.
- Use permanent sticking double-sided tape to cover the entire length of the front of the invite under the place where you want the ribbon to stick.
- Stick the ribbon straight down on your strip of permanent tape on the front of your invitation.
- Put tape on the two loose ends of ribbon and tape them down (with the "V-cut" end on top) on the back of your invitation. This is the hardest part because I'm a perfectionist when it comes to lining up the ends and not having any bubbles or loose areas of the ribbon.
 Click the image above to see what the front of Sarah's wedding invitations look like
For crystals that will not pop off in the mail:
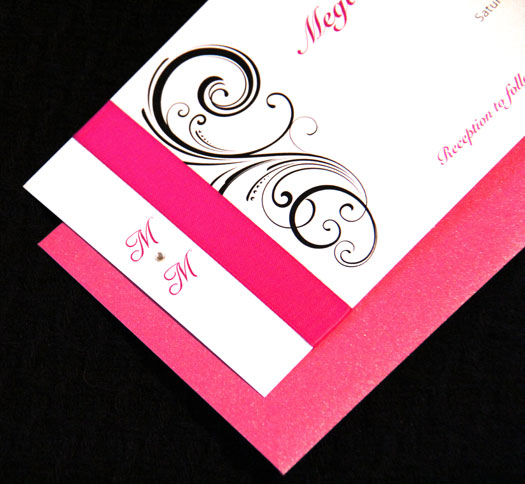
- I use the crystals that are heat-activated (the iron-on kind). That means the glue is already on the back of the crystals and you use a hand-held iron tool to permanently heat the crystal onto the paper. It heats through the crystal to melt the glue on the opposite side.
- I also use these kinds of crystals because they are clearer and sparklier (that's a word now) than others that you might buy on a strip with the sticky side on a plastic sheet.
- Put the crystal down where you want it, and press the hand-held iron on it for 10-12 seconds. It'll stick like no other.
 Click on this image to see the rest of Megan & Marc's invitation photos on Copper Ink Wedding Design
And if you're gluing anything else to your invitations--like feathers, twine, the knot of a ribbon--I use a special gel glue with a really small tip. You don't want glue squishing out the sides of whatever you glued, so smaller and stronger is better.
If you're gluing a backing paper to another piece of paper, I use two fail-proof methods:
- If you're sending your invitations during the winter months, you don't want your glued paper to pop off in the mail because the temperature got so cold that your glue didn't hold.
- I use permanent glue rollers that act like a strip of permanent adhesive (it looks like a white-out roller) along each of the four edges of the paper.
- In addition to using strips of adhesive glue, I use spray mount. It's a messy, messy method (I had to Goo-Gone my entire kitchen. And my feet. And the dog.) but it adds that extra layer of not-coming-off-ness.
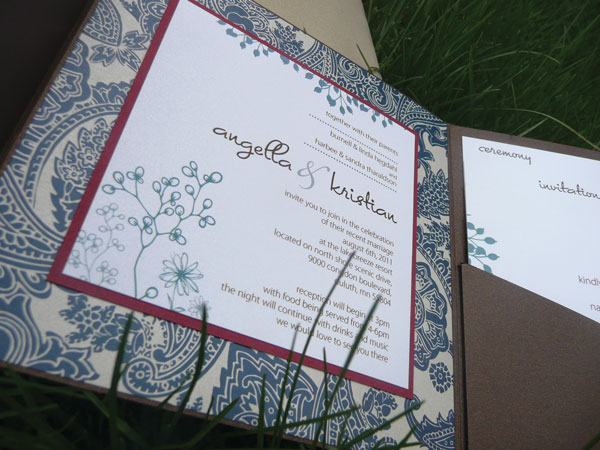
 Click the photo above to see the rest of Angella's pocket invitation
Have no fear, though. We at Copper Ink Wedding Designs can assemble your invitations for you at a price per invitation. And you'll have the peace of mind knowing that your wedding invitations, programs, save-the-dates, or thank you notes will come out looking perfect...and so will anything you decide to add to it.
And in case you were wondering...here is Dori, the dog that helps with every Copper Ink project here in Sioux Falls, SD. :)
 For more pics of Dori, Renee and Copper Ink Wedding Designs, check out her Facebook page

Reader Comments